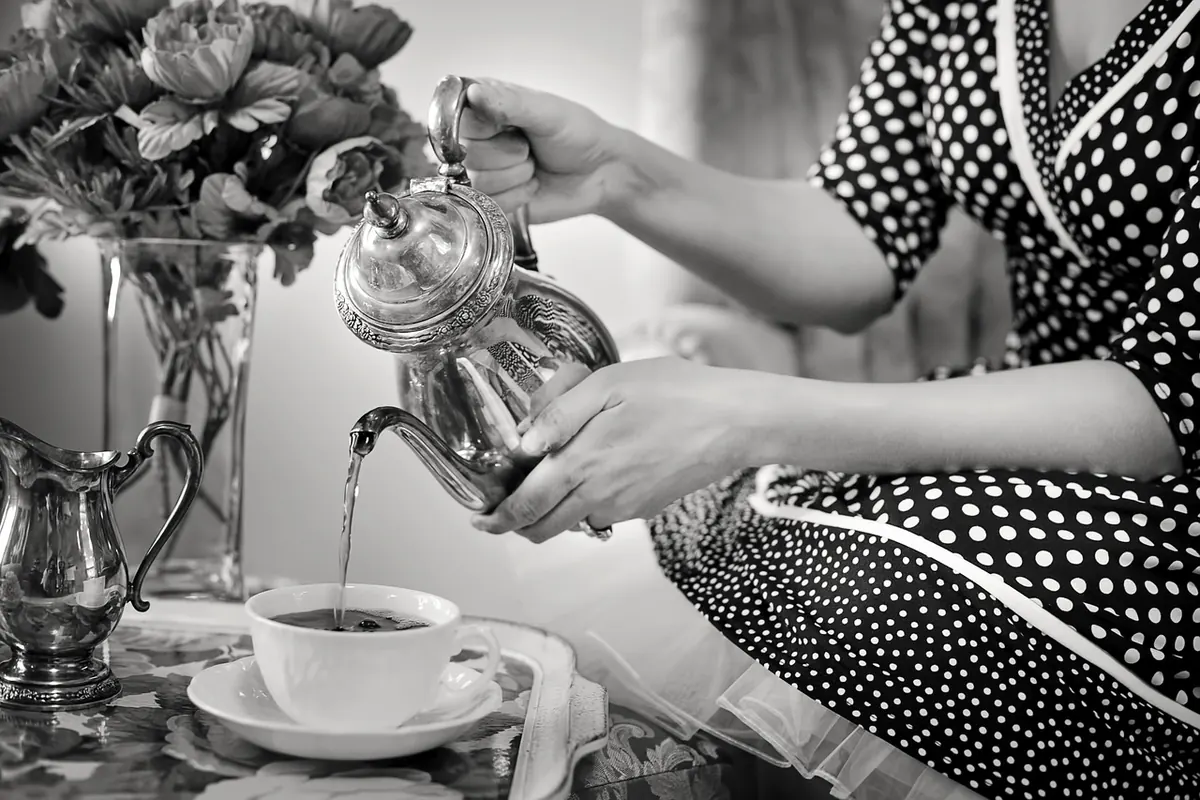

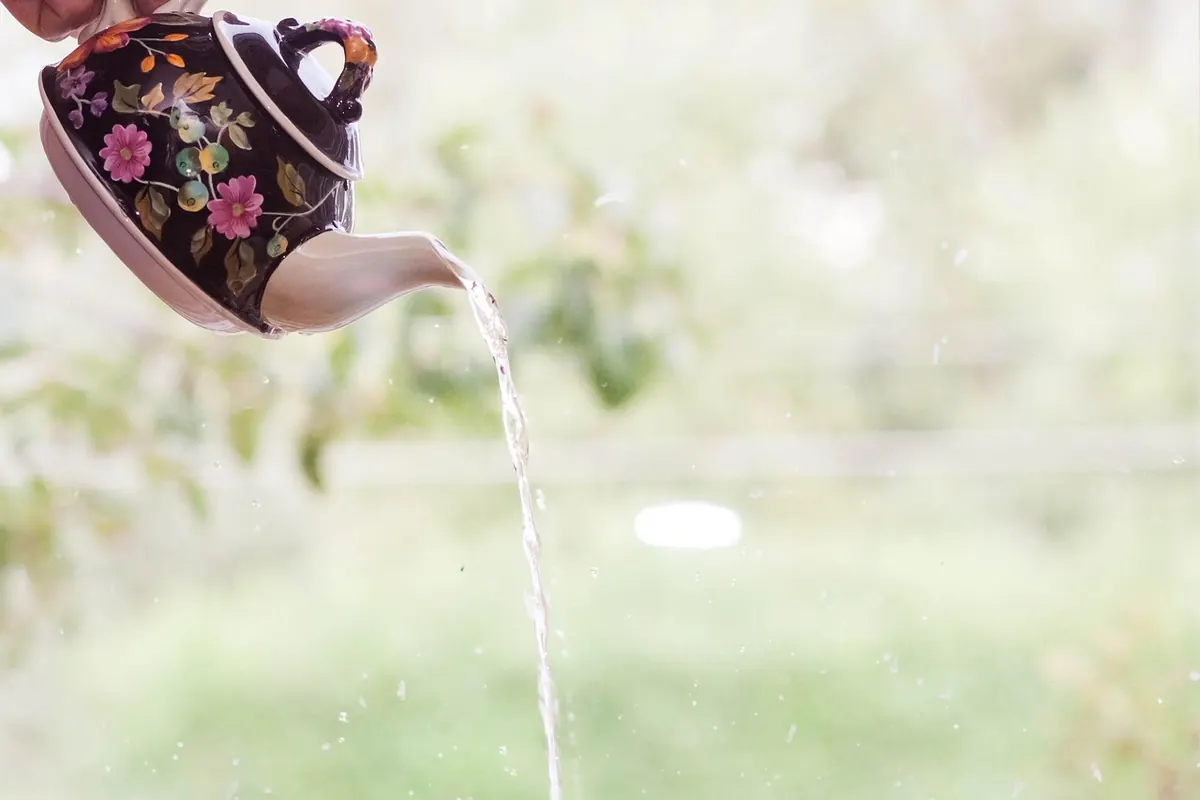
Fill a teapot, tip it toward a cup, and you learn everything in about four seconds. Either the tea leaves the spout in one clean arc, or it clings to the tip, runs back along the underside, and lands in a ring on the table. That drip is not a small annoyance. It stains the cloth, soaks the tea cozy, and leaves a brown trail down the belly of a pot you otherwise love. The good news is that a drip-free pour is mostly a matter of shape, and shape can be tested in a few minutes with nothing but water.
Below is the five-point check worth running before a pot earns a place on your shelf. Use lukewarm water rather than tea, and whenever possible test before you buy. If you are ordering online, ask the seller about the spout tip and the lid fit, and read the return policy first.
1. Spout Angle and Tip Shape
Hold the empty pot at eye level and study the spout in profile. You want one that rises from the belly at a moderate angle and ends in a tip cut cleanly, usually with the lower edge sitting slightly proud of the upper one. That small overhang is what lets the final drop break away and fall instead of crawling back under the spout.
Shapes that cause trouble tend to fall into three groups. A spout that points nearly straight up forces you to tilt the pot to an extreme angle before the tea clears the tip. A spout mounted too low on the body starts pouring while the pot is still almost upright, so the stream surges and you cannot control the stop. A thick, rounded, heavily glazed tip gives surface tension somewhere to hang on, and the last spoonful always ends up on the table.
The water test: fill to about two-thirds, hold the pot over a sink, and pour slowly into a cup. Watch how early the stream starts, whether it leaves the tip in a clean arc, and what happens in the half-second after you stop. A good spout shuts off with one small drop at most.
Check the inside of the spout, too
A spout can look perfect outside and still pour badly. Run a finger or a thin skewer gently into the opening. The channel should be smooth and straight, with no step or ledge where it meets the body. A built-in filter of small holes at the base is fine and useful, but heavy glaze that narrows the throat will slow the flow and make the pour gulp and sputter.
2. Rim Shape and Lid Fit
Look at the mouth of the pot. A rim that flares outward, or carries a rolled bead on its outer edge, catches tea the moment you fill past the shoulder. Liquid sits in that groove, and when you tilt, it runs down the outside. A rim that curves slightly inward and finishes in a clean edge keeps the tea where it belongs, even at a steeper tilt.
The lid belongs in this test because a pot pours as a single system. Set the lid in place and rock it gently with one finger. A lid that clatters, sits proud of the rim, or leaves a visible gap will leak from the top when you tilt, and that leak usually finds the same path down the side as a spout drip. A little play is normal in handmade clay. A gap you could slide a coin into is not something to accept.
3. The Air Hole
That pinprick in the lid — occasionally drilled near the handle instead — controls the pour more than its size suggests. Air has to enter the pot as tea leaves it, or the flow stutters and splashes. A blocked air hole turns a graceful pour into a fight with a gurgling pot.
Fill the pot, tilt it, and listen to the rhythm. Then cover the hole with a fingertip and tilt again. The flow should slow or stop, which proves the hole is doing its job. If nothing changes, the hole is blocked or has been sealed over by glaze. Clear it with a wooden toothpick. Avoid needles and metal pins, which can chip glaze and enlarge the opening; an oversized air hole makes a pot gush.
4. Handle Balance
Fill the pot to the level you would really use, not to the brim, then hold it in one hand and pour using only your wrist. A well-balanced pot tips with a small rotation, the stream stays where you aim it, and your knuckles clear the body without scraping. A badly balanced one forces your whole shoulder into the pour, and once you are over-rotating to get the tea out, you lose control of the stream.
Check the grip itself. If the handle is too narrow for your hand, or the space between handle and body is too tight for your fingers, the pour will always feel shaky. On side-handled pots, the pour works differently: the spout faces away and you rotate the wrist to tip. Test that motion too, since a side handle that sits too high or too low changes how much of the pot's weight you can support. Finally, hold a full pot for thirty seconds and feel the handle. If warmth is already creeping up the grip, it will be uncomfortable with boiling water.
5. Capacity: How Much You Can Actually Pour
Nominal capacity and usable capacity are not the same number. A pot advertised at 700 ml may only pour 500 ml cleanly, because a pot filled to the brim almost always drips regardless of how good the spout is. The tea level sits at or above the rim, and the rim is the weakest point in the system.
Here is a simple way to find the real figure. Fill the pot in small increments, pouring each time into a measuring jug, and note the level at which the pour starts to dribble. That is your working capacity. Then subtract room for the leaves themselves. Eight grams of rolled oolong takes up noticeable space once it opens, so a pot that pours 500 ml of water might serve 400 ml of tea. Size the pot to the number of cups you actually pour, not to the number on the box.
The Five-Point Checklist, In Order
- Spout: pour from two-thirds full, watch the stream start, and watch the shutdown.
- Rim: look for an outward flare or bead that traps liquid on the outside.
- Air hole: compare the pour with the hole open and covered.
- Handle: pour a realistic fill using only your wrist, and check the grip.
- Capacity: find the highest fill line that still pours clean, then allow for leaf.
After the Test: Keeping the Pour Clean
If a pot passes all five points, a little habit keeps it that way. End every pour with a short, confident flick of the wrist back toward you; hesitating at the end is what lets the last drop creep under the spout. Wipe the tip dry between pours, and never fill past the level you tested. Keep the air hole clear, empty the pot after each session, and store it with the lid off so trapped moisture does not sour the interior. Hot water and a soft cloth handle most cleaning; skip soap on unglazed clay, which absorbs it.
If a pot fails, be honest about how much technique can rescue it. Better pouring form helps a mediocre spout slightly, but it cannot fix an outward-flared rim or a tip that holds water. When you have bought new and the drip is obvious from the first pot, contact the seller before you decide to live with it. And if you are standing in a shop choosing between two pots you like equally, ask for water and a cup. Four seconds of pouring will make the decision for you.
Photo: charlygracious / Pixabay