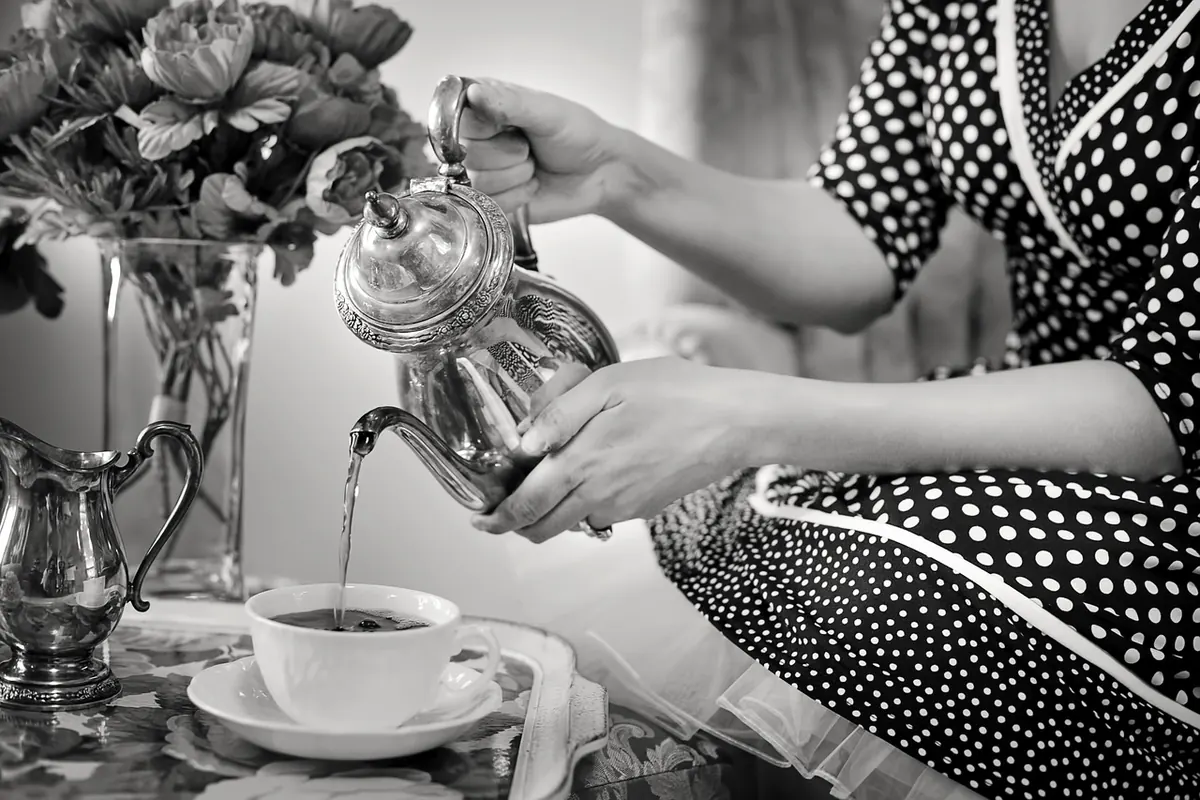


A teapot gets judged twice: once on the shelf, and once when someone actually pours from it. Both verdicts are settled at the fitting stage, when the spout, handle, and lid meet a body that is already shaped and — if the timing is right — leather-hard. Get the geometry right and the pot feels inevitable. Get it wrong and you own a very handsome object that drips on the tablecloth.
Work at leather-hard. Soft clay sags under a spout; bone-dry clay refuses to accept a join at all. If your body is still too soft, cover it and pull a few practice spouts while you wait.
Begin with the body, not the parts
Before you touch a spout, read the pot you've made. Set it on a flat board and check that the rim is level and the foot ring sits without rocking. Mark the widest point of the belly with a light pencil line — that line is your reference for almost everything that follows. Then mark the front and back: a vertical line where the spout will go, and another where the handle will sit. If you like a slight offset, decide now rather than halfway through a join.
Capacity tells you how large the spout should be. A small pot of two or three cups wants a slim spout; a generous six-cup pot can carry a wider one. As a rough guide, the spout's length should be close to the height of the body, and its opening should comfortably pass the tip of your index finger. Cut the spout from a tapered cylinder, let it stiffen to soft leather-hard on a rolled newspaper support, and shape the tip before you attach anything.
Positioning the spout
Height and angle
Lift the spout to the body and look at where the tip lands. It should sit level with the rim or slightly above it. Any lower, and you'll have to tip the pot almost sideways to empty it. Any higher, and the last centimetre of tea stays in the belly forever.
The spout should rise at a gentle angle, roughly forty degrees from horizontal, with the tip opening cut so it faces slightly downward. That downward cut is what stops the drool after pouring. Test the cut before you commit: hold the spout under a tap for a second and watch where the water leaves. A ragged or thick lip will always hold a drop.
Alignment
Sight from the tip back along the spout toward the pot. The outer curve of the spout should continue the curve of the belly, not fight it. When you pour, the stream should fall roughly in line with the handle, so the weight of the water moves into your wrist instead of twisting it.
Joining the spout so it never leaks
The join is the failure point, so give it more attention than it seems to deserve.
- Score the base of the spout and the patch of body it will cover with a fork or serrated rib.
- Paint both scored areas with slip the consistency of heavy cream. Thin slip starves the join; thick slip keeps it from seating.
- Press the spout home with a slight twisting motion, then hold it for a slow count of twenty.
- Roll a thin coil of soft clay and wrap it around the base, blending it upward onto the spout and outward onto the belly with a wooden tool and a damp finger.
- Reach inside if the opening allows and smooth the interior seam. Roughness there causes turbulence, and turbulence turns into dribbling.
Support the spout while it firms: a wad of clay, a rolled towel, or a coil of newspaper underneath. Gravity is patient, and a spout that droops overnight is a spout you'll be fixing with a grinder after firing.
The handle: comfort first, balance second
Set the handle opposite the spout, or a few degrees off centre if you want the knuckles of your pouring hand to clear the belly. The opening should take two or three fingers without pinching, and the grip should feel as though it was made for a hand — because it was.
The top of the handle usually meets the body near the rim; the bottom lands somewhere around the widest point or a little below. That span is what makes the pot feel stable when it's full. Before you commit, mock it up: bend a piece of stiff wire or a bamboo skewer into the shape you intend, tape it in place, and lift the pot. Fill a plastic bag with water, drop it inside, and lift again. You will learn more in ten seconds than in an hour of imagining.
Pulled handles go on best when they have stiffened just enough to hold their curve but still take a firm press. Score, slip, press, and add a small coil at each end. If the handle sags, prop it from below and let it set before you move the pot.
Fitting the lid and cutting the steam hole
A lid should seat with a few millimetres of overlap on the gallery, and it should sit without rocking. Spin it gently in place — if it clicks or wobbles, the gallery is uneven and will only get worse once it shrinks.
Make the gallery and the lid seat from the same batch of clay and measure them at the same stage, so they shrink together. Leave a little clearance; a lid that fits perfectly now may seize after glaze firing. Keep the seat itself free of glaze later, or the two parts can fuse into one.
Cut a steam hole, about two millimetres across, through the lid near the handle side. Steam escapes away from your hand and away from the pouring line, and the pot stops glugging when you tip it. The knob needs to take two fingers comfortably — a small knob on a full pot is a genuine nuisance.
Reinforce, then dry slowly
Every join on a teapot carries load, and every join cracks when it dries faster than the wall around it. Blend a coil into the spout and handle bases, smooth the seams with a damp finger, and then wrap the whole pot loosely in plastic. Leave the spout and handle tips exposed for a day, then cover everything. Slow is boring and it works.
Before the kiln, run through this list:
- Rim level, foot ring flat, pot sits without rocking.
- Spout tip level with or just above the rim.
- Handle opening takes three fingers without pinching.
- Lid seats, rotates without rocking, and has a steam hole.
- Coils blended at spout base, handle ends, and knob.
- No soft spots — the pot is firm enough to handle by the body, never by the spout.
Test after the bisque, adjust before the glaze
Bisque firing gives you a second chance. Fill the pot with water and pour it in a slow, steady stream. Watch three things: whether the stream starts cleanly, whether it lands where the handle lets you aim it, and whether the spout drips when you stop.
A dribble usually comes from the tip, not the join. A few passes with a diamond pad or a small file on the outer lip will often fix it. If the stream shoots sideways, the spout is angled off the centre line and can sometimes be nudged with a careful grind at the opening. If the lid rattles, a thin coil of clay fitted to the gallery and refined after bisque can take up the slack.
Then glaze, wipe the gallery seat clean, and fire. The first pour from the finished pot will tell you everything you couldn't see on the shelf — and after two or three teapots, you'll start setting the spout and handle by eye alone, which is how it should be.
Photo: mirkostoedter / Pixabay